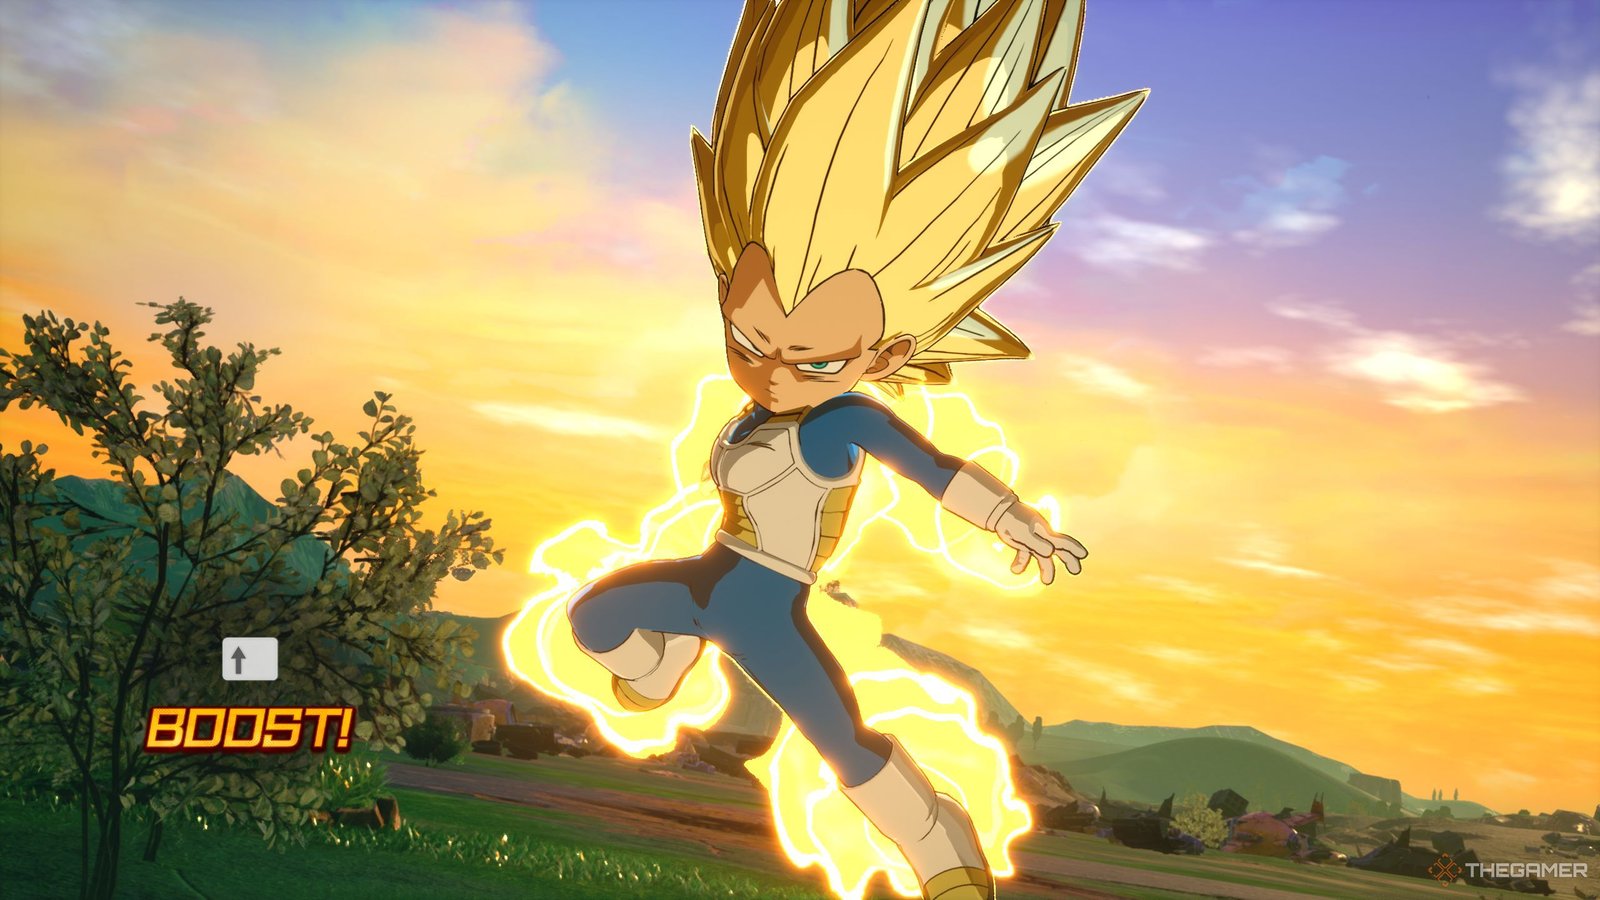
Dragon Ball: Sparking Zero’s latest DLC pack has been released, and it has introduced five new characters. While all the characters are pretty great, Vegeta Mini SSJ 3 is the most fun one of all. Daima fans have also been waiting for this transformation to appear in the game.
Related
Dragon Ball: Sparking Zero – Panzy Character Guide
Panzy might be small, but she’s a dangerous fighter in the right hands – here’s how to make the most of her abilities in Sparking Zero.
It is finally here, along with three other forms. Here we will provide you with a thorough guide of Vegeta’s forms from base to SSJ 3, explaining his moveset and how to play him. We will also discuss the optimal combo for this character that will help you deal massive damage.
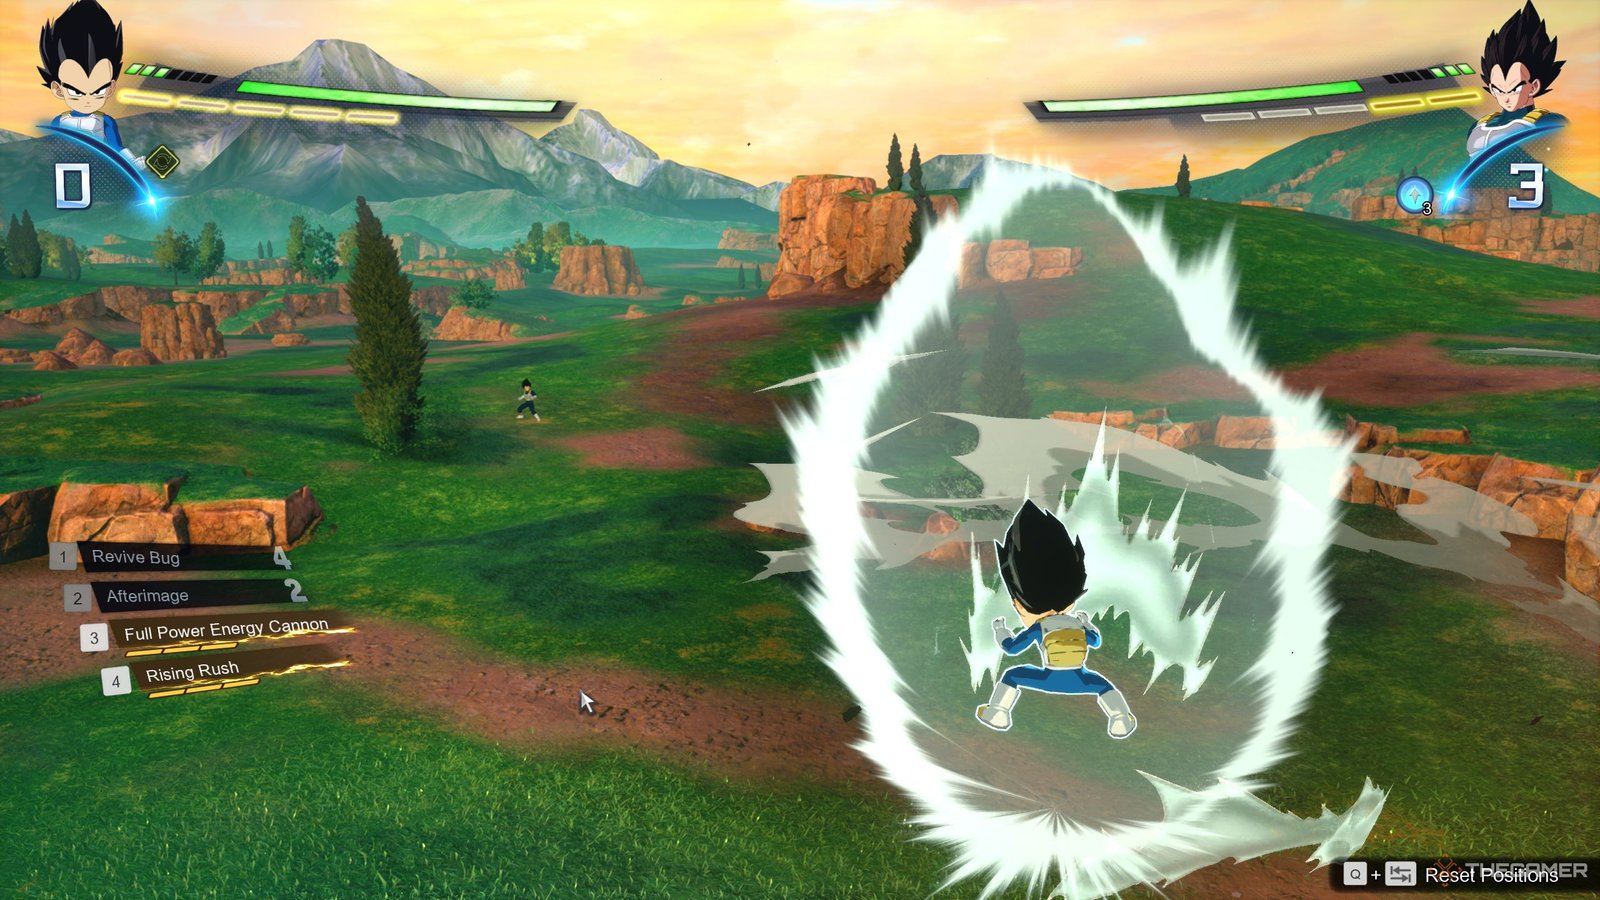
Vegeta Mini Base Form Moveset And Abilities
|
Move |
Cost |
Explanation |
|
Revive Bug |
Four Skill Points |
Vegeta restores some of his health and max ki bar (not the sparking one). |
|
Afterimage |
Two Skill Points |
A skill that allows you to evade any upcoming attack. If the opponent is throwing hands, then you will go behind him. However, if your opponent uses a long-range attack, you will automatically vanish. |
|
Full Power Energy Cannon |
Three Ki Bars |
Vegeta throws an energy cannon toward the opponent that can be boosted. |
|
Rising Rush |
Three Ki Bars |
Vegeta’s rush attack, where he beats the opponent during a cutscene. It is blockable and causes more damage if the opponent hits the ground or any other object after the last hit. |
|
Atomic Rush |
Complete Ki Bar |
Vegeta’s ultimate rush attack, where he hits the opponent first, then blasts them with an energy cannon. This attack is blockable. |
Vegeta mini has a pretty great block string, so try to use it more often. After sidestepping and pressing a triangle, he uses the gut punch that stuns the opponent, allowing you to perform a combo or your super attacks.
He also has the gut punch as his heavy attack if you press triangle after pressing square two times. Unfortunately, he doesn’t have a rolling hammer, but you can go behind the opponent after hitting them with a gut punch, so that’s alright.
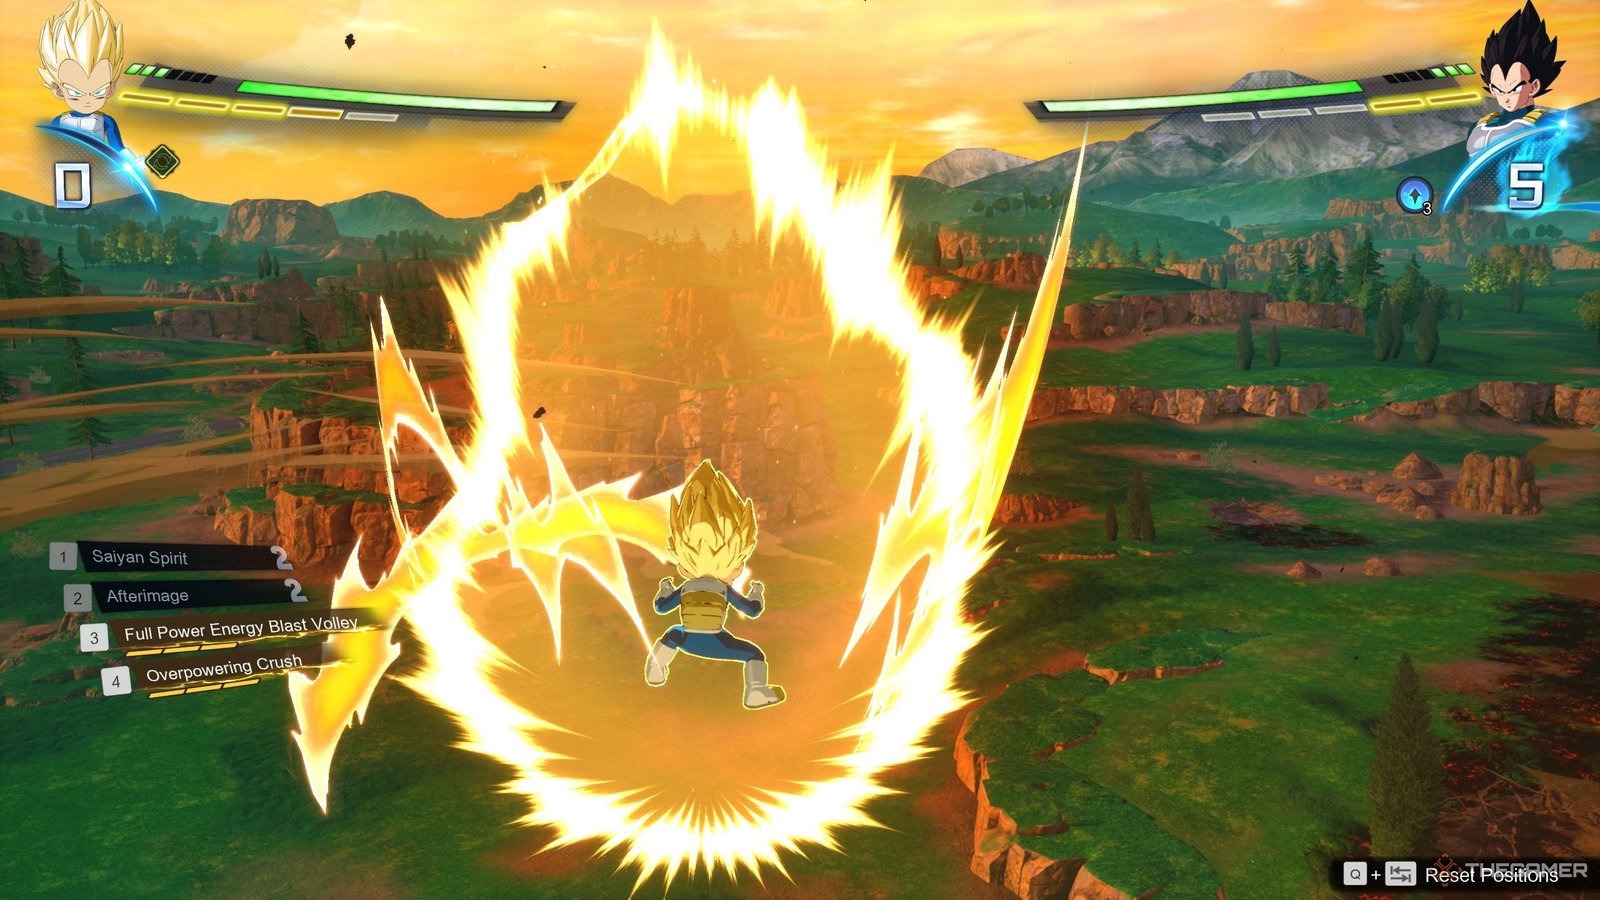
Vegeta Mini SSJ Moveset And Abilities
|
Move |
Cost |
Explanation |
|
Saiyan Spirit |
Two Skill Points |
Buffs your Melee, Ki Blast, and Blast power for 15 seconds. |
|
Afterimage |
Two Skill Points |
Same explanation as detailed above. |
|
Full Power Energy Blast Volley |
Three Ki Bars |
Vegeta launches a volley of energy blasts toward the opponent. We don’t recommend using it as it is the easiest super to dodge in the game. |
|
Overpowering Crush |
Three Ki Bars |
Vegeta’s super rush attack, where he attacks the opponent during a cutscene. It is blockable. |
|
Galick Gun |
Complete Ki Bar |
Vegeta fires Galick Gun at the opponent. It can be blocked. |
Just like the base form, this version also has the same block string after side-stepping. This form also doesn’t have a rolling hammer.
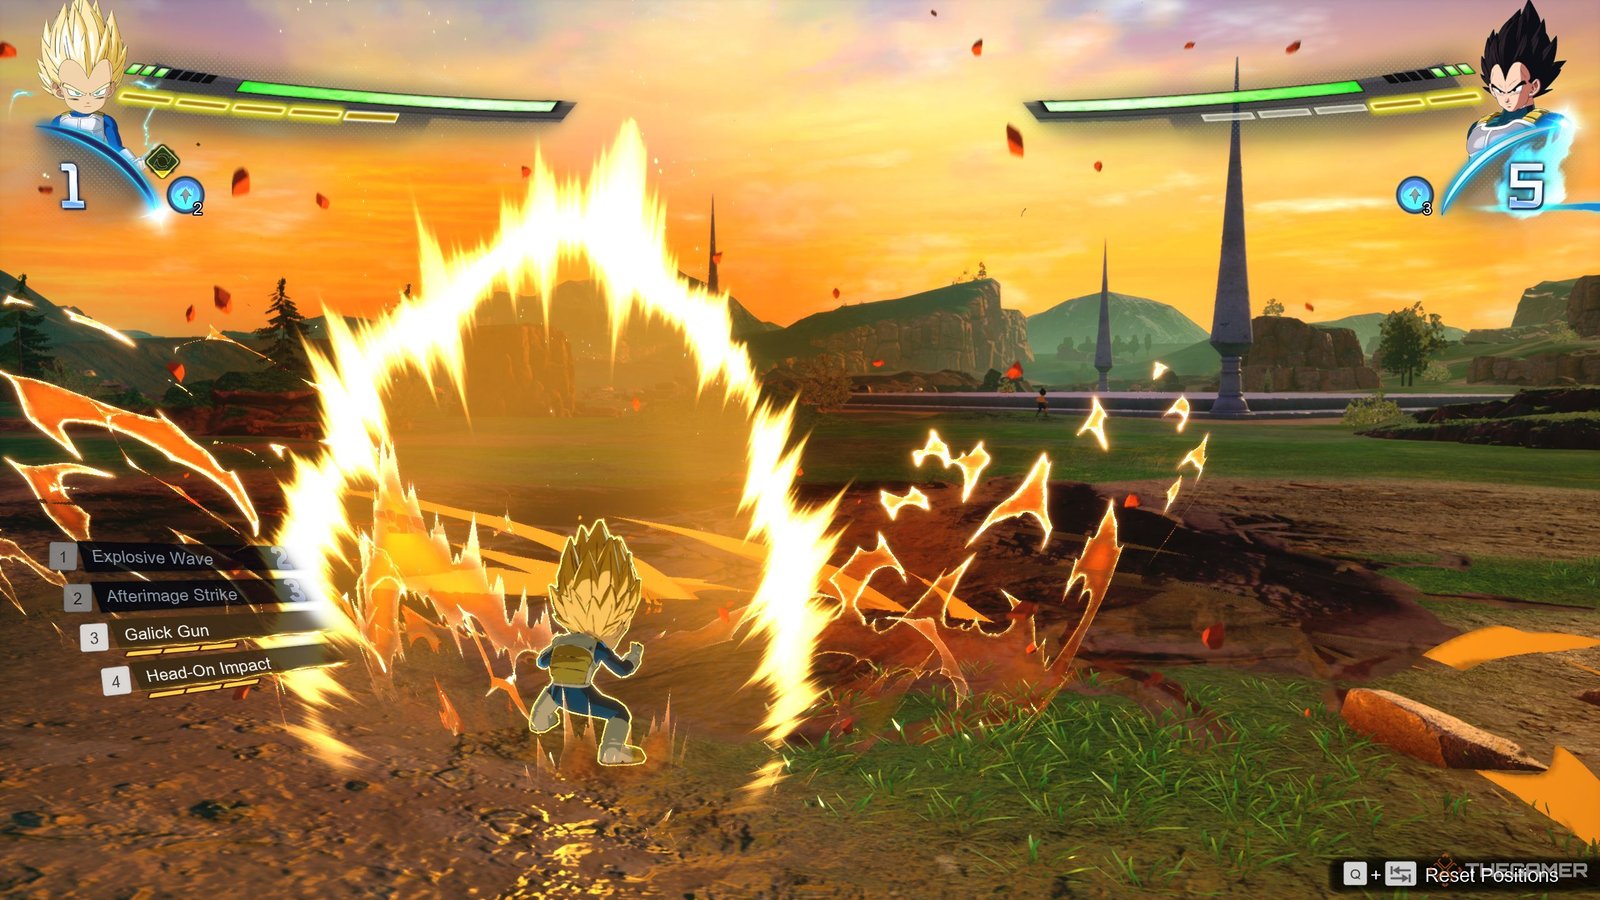
Vegeta Mini SSJ 2 Moveset And Abilities
|
Move |
Cost |
Explanation |
|
Explosive Wave |
Two Skill Points |
Blast the opponent away from you. Can be used to avoid getting hit by the combo from the back. It may even help you avoid getting hit by rush supers. |
|
Afterimage Strike |
Three Skill Points |
For ten seconds, nothing except grabs and ki blasts will hit Vegeta. However, if the opponent performs a perception on you, then you will lose this ability instantly. |
|
Galick Gun |
Three Ki Bars |
Vegeta shoots Galick Gun toward his opponent. |
|
Head-On Impact |
Three Ki Bars |
Vegeta fires an energy cannon toward the opponent and then follows it up with a headbutt. This attack is blockable. |
|
Big Bang Attack |
Complete Ki Bars |
Vegeta launches the Big Bang Attack towards the opponent. This attack can be blocked. |
Super Saiyan 2 Mini Vegeta doesn’t have the same block string as SSJ 1 and base form; he performs a flying kick on the opponent, which is a great attack as it can catch them off guard.
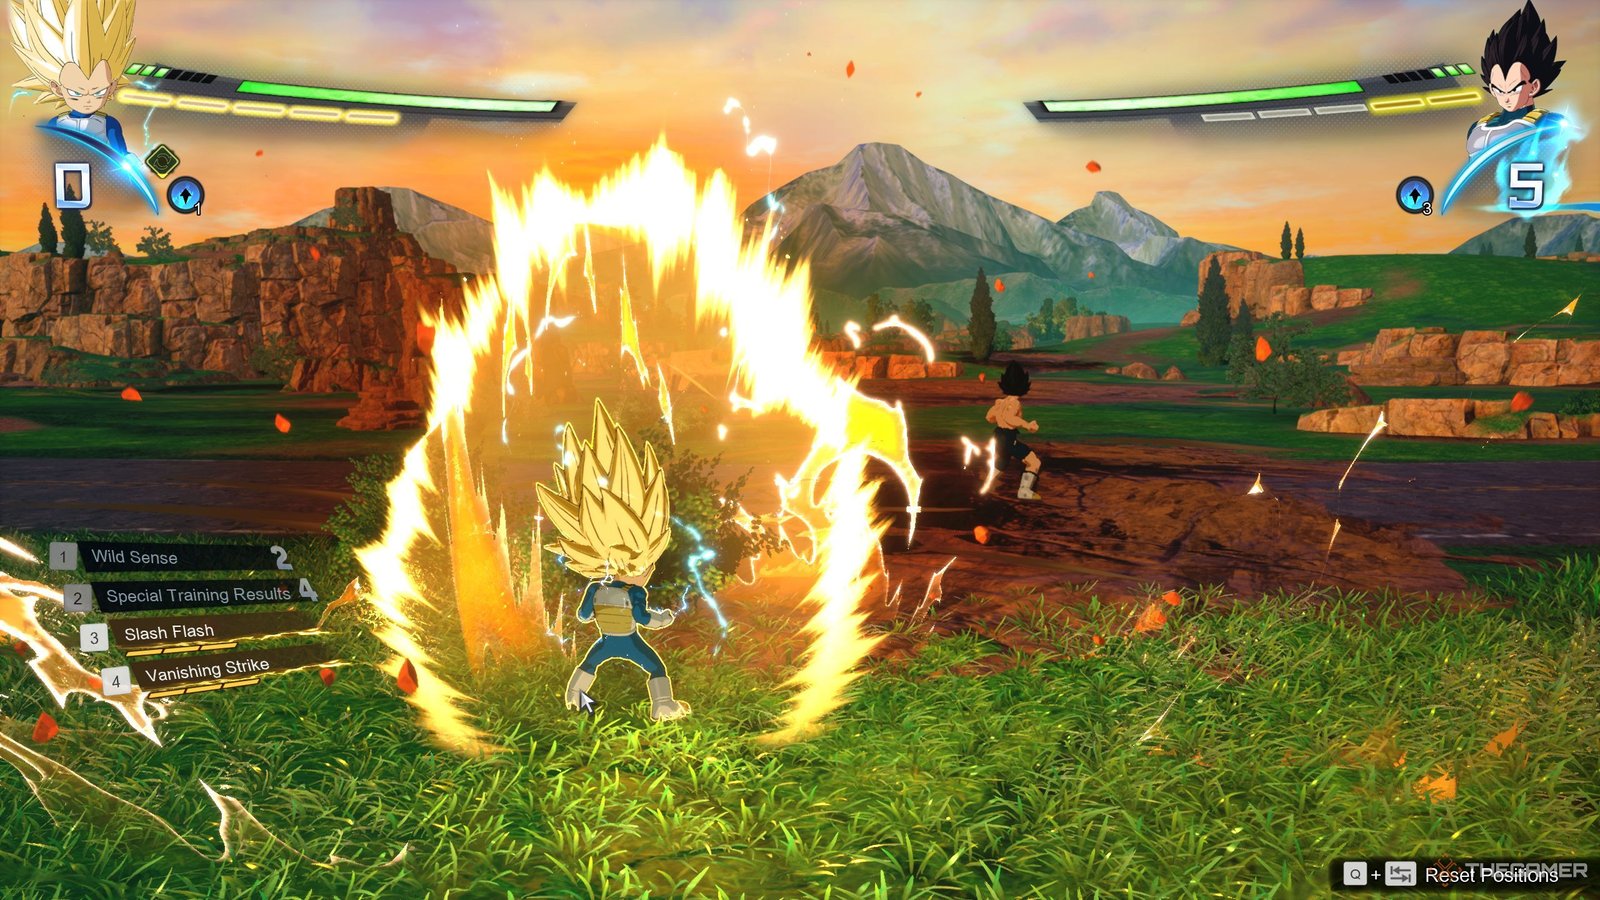
Vegeta Mini SSJ 3 Moveset And Abilities
|
Move |
Cost |
Explanation |
|
Wild Sense |
Two Skill Points |
Allows you to dodge any attack other than ki blasts or grabs automatically. If the opponent is throwing hands, then you will dodge and perform a hit on them. |
|
Special Training Results |
Four Skill Points |
Instant Spark that gives you a buff too. |
|
Slash Flash |
Three Ki Bars |
Vegeta launches a slash from his leg toward the opponent. |
|
Vanishing Strike |
Three Ki Bars |
Vegeta aura farms on the opponent and beats them during a cutscene. |
|
Galick Doom |
Complete Ki Bars |
Vegeta fires Galick Gun towards the opponent and then follows it up with a punch. He then grabs the opponent from their neck and instantly drops them (peak aura farming – our boy Future Trunks has a competition now). |
Vegeta SSJ3 is arguably the most fun form to play among the others, but it has one massive flaw. Unlike the side-step block string of the other three forms, this one doesn’t feature a useful one. We have designed a couple of combos for the SSJ 3 form that can help you a lot in your matches.
Vegeta SSJ 3 Optimal Combos
First Video Explanation: The combo we are using here is pretty complicated, but it looks extremely cool and deals huge damage. Start the combo with normal hits and then charge heavy hits. This will take a bit of practise, but eventually you will get it down.
You can do this four times in a combo from all sides – up, down, left, and right. After performing all the heavy hits, continue the combo. Press X after finishing the string (do this twice). Now, during the third string, at the end, do the sweep attack and then the gut kick by pressing Square and then Triangle.
Follow it up by pressing square thrice, and then press Triangle and keep pressing square until you reach the opponent. After you have hit the opponent once or twice, move the joystick upward and press Triangle to launch the enemy into the sky. Then, press triangle and do the normal combo. After that, perform any super attack.
Do not charge the hits too much, as that will send the opponent flying.
Another combo we performed features a reset and has the potential to take out around 70% of the opponent’s health. Start the combo with the same heavy hits and keep doing what you did in the first combo. Now, after the sweep attack, press the triangle again. Do not spam the triangle as it will ruin the combo.
After you have launched the opponent away, perform your rush attack. The combo itself will deal over 10k damage, and if you boost the rush attack, it will also deal over 10k damage easily. When you press the triangle after the sweep, the combo resets, so it won’t be a true combo, which is exactly why it deals such massive damage.
Second Video Explanation: Here, you don’t have to do anything fancy. Just do the simple combo with three strings. However, make sure to use the heavy attacks during the third string. We used the gut kick along with the sweep and upward kick to launch the enemy in the air.
After that, complete the combo, which will trigger a true knockdown. Now, hit the enemy with your ranged blast. A pretty simple combo, but the damage it deals is scary.
The combos done in the first combo have the potential to deal more damage, as you can do nearly 10k damage in just the first string. So, even if the opponent performs a super counter, you will have already taken their whole one bar.
Another combo we did was the reset one. Perform the exact same combo, but this time, after the sweep, press the triangle again to reset the combo. Now, perform your super rush attack and just look at the enemy’s health bar.
Next
Dragon Ball: Sparking Zero – Piccolo (Super Hero) Character Guide
Here’s everything you need to know about playing as Piccolo (Super Hero) in Dragon Ball: Sparking Zero.
